

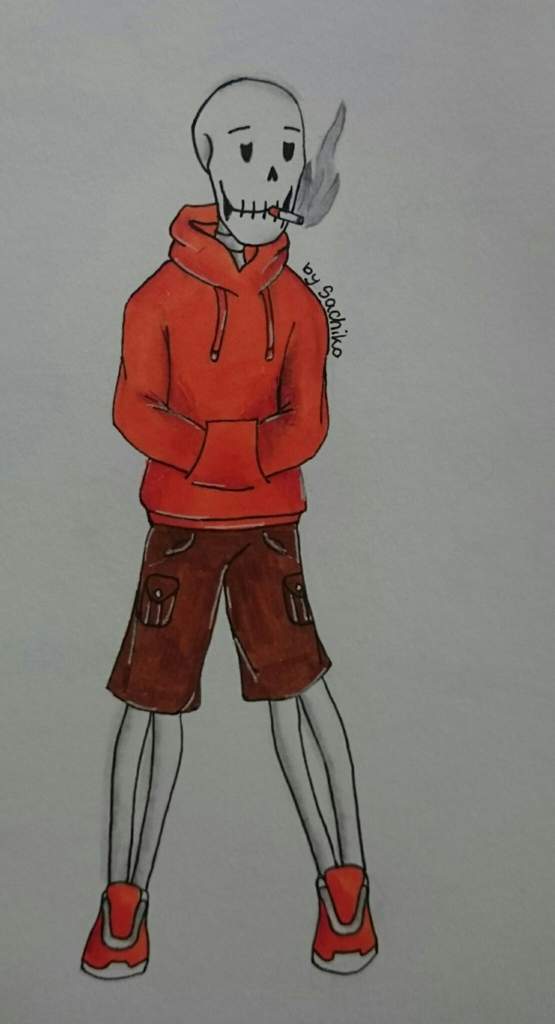
How To Draw Swap Papyrus
~*~
The time has come. My first drawing tutorial! The first request was to do Underswap Papyrus, so here I am.
~*~
~*~
WARNING: If you decide to post your attempt of recreating this drawing, please, mention that you used my tutorial. If you don't, your drawing will be considered as stolen from me.
~*~
🖌Media used🖌: Fineliner, promarkers, brown copic marker, white gel pen
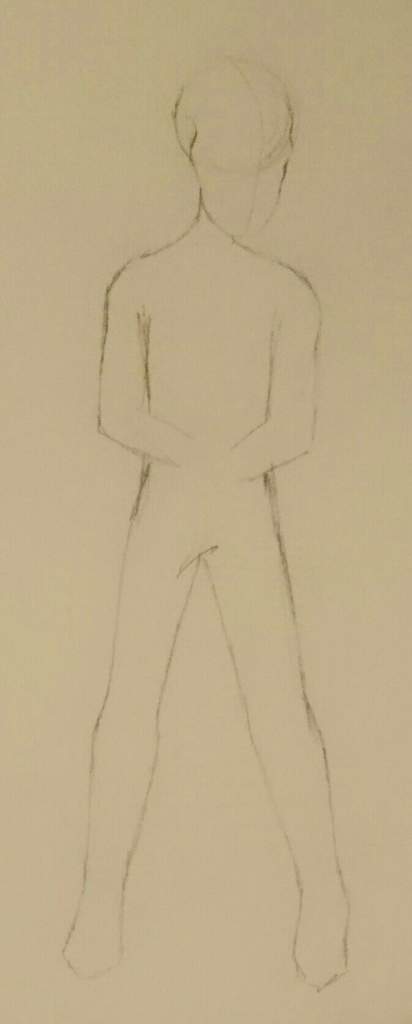
Step one.
Draw the base. It's always better to start with the base instead of going straight to drawing the clothes. When you have the basic sketch, you can see how clothes should fit the whole body. I didn't bother with drawing the hands, since they will be hidden in the pocket.
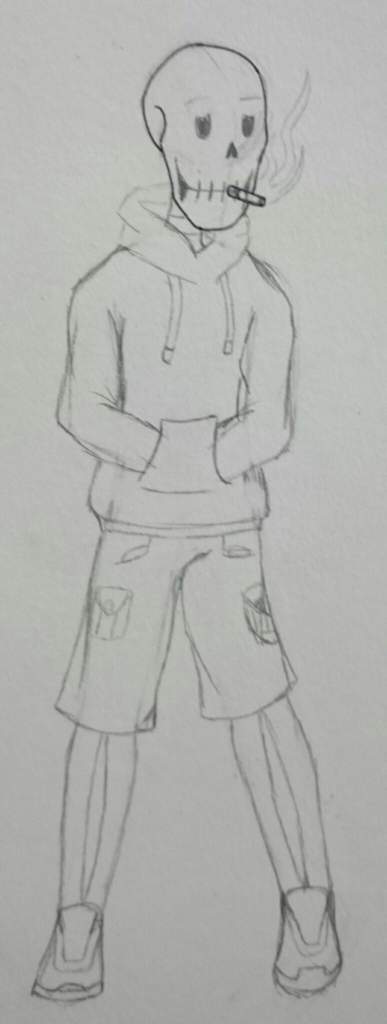
Step two.
Add all of the details. Face expression, clothes, shoes. Make his neck and legs look like bones. You can erase some of the lines of the base, so you don't accidentally go over them with a fineliner. (I already started the lineart when I realised I had to take a picture of the details... I also slightly changed shape of one of his legs)
Step three.
Do the lineart. You can always change something to make it look better. I accidentally went over one of the lines I didn't want to have, so it caused me some trouble when colouring. It seems I don't listen to my own art tips. (I also left the cigarette smoke without the lineart)

Step four (optional)
One of the last things left is to colour the work. I decided to blend red marker with the orange one to give more depth to the shading. You don't have to do it, and if you do so, always check if your markers will blend well on a different piece of paper.
I'll show you how I blend colours on part of Papyrus' hoodie.
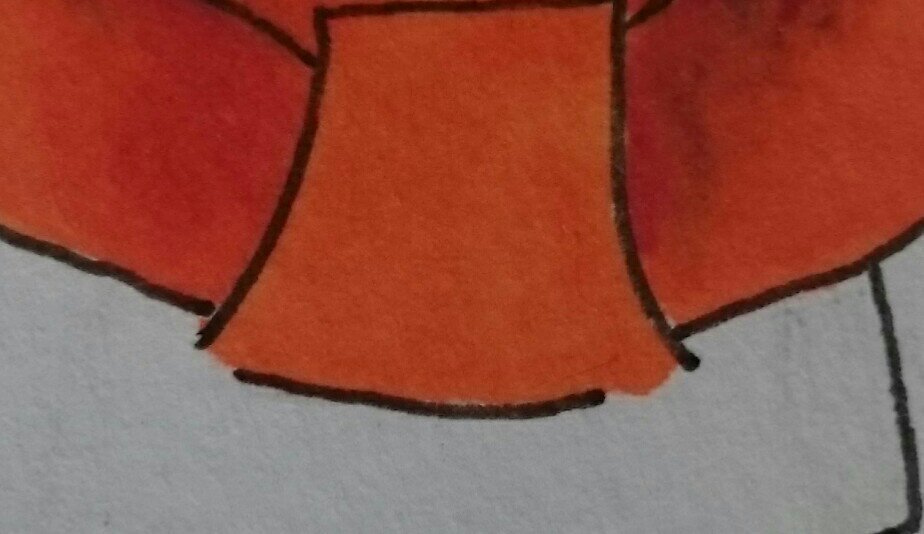
Add the first layer of colour (orange)
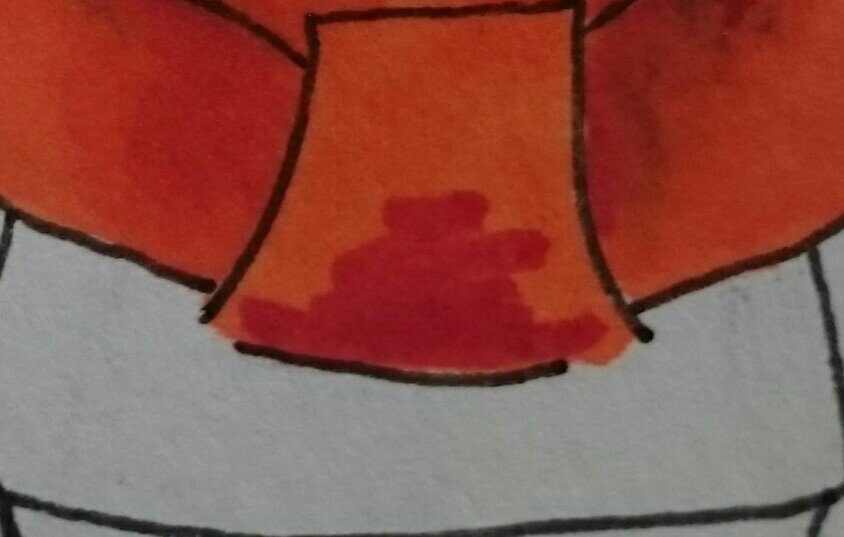
Add the second colour (red)
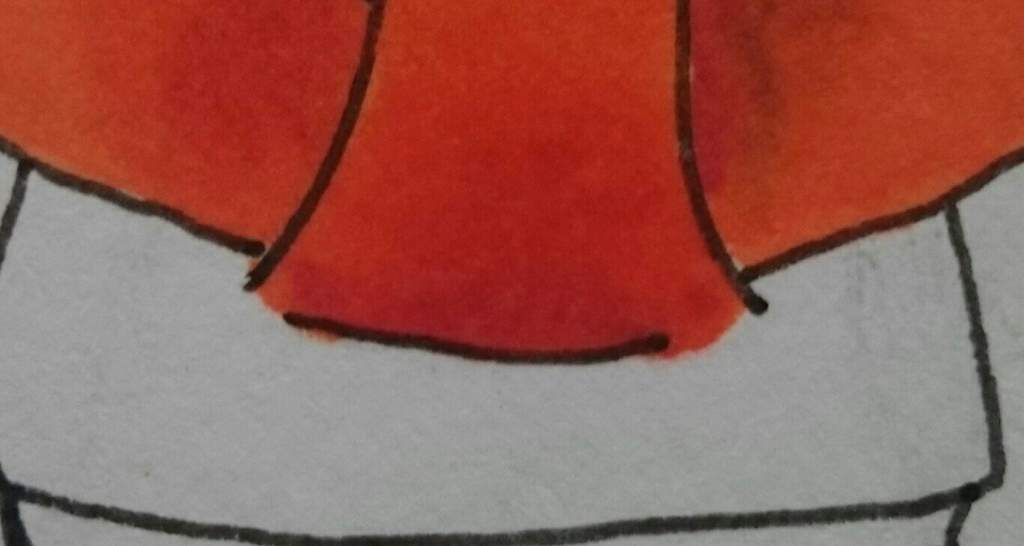
Use the first colour really quickly (Don't take pictures like I did) before the second colour dries and continue to add layers until they are both blended with each other. Now do it on rest of the hoodie.
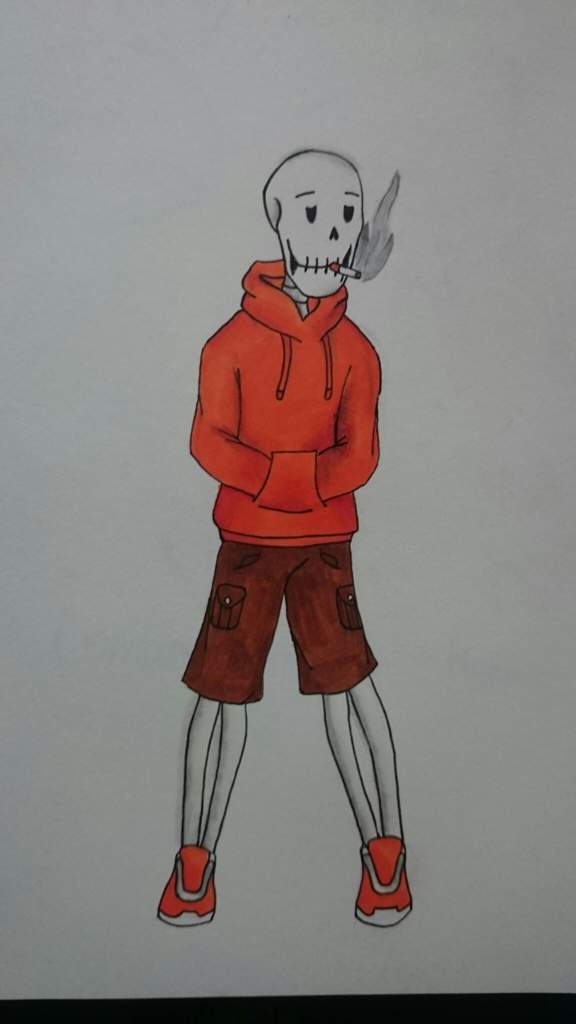
Step five.
Colour the whole drawing. I used grey marker and a blender for the bones and cigarette smoke, but you can just use a bit of pencil and blend it with your finger, then erase the parts you don't want on your drawing. It takes way less time than what I did.
Step six. (optional)
Add highlights with the white gel pen. If you add too much in some places, you can use the marker to cover it. I did that on the hoodie and shorts.
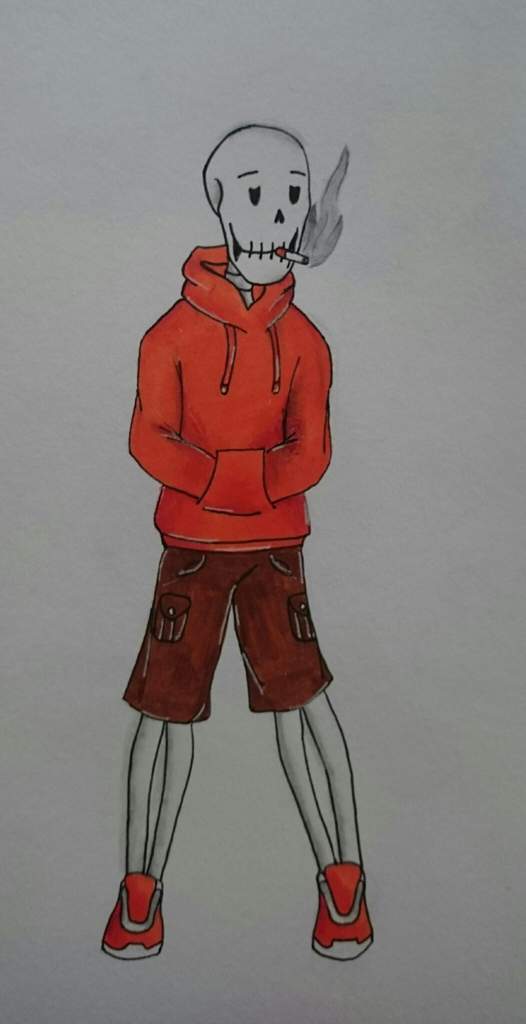
Step seven.
Sign the drawing. Before you do so, you can add any background you want, but I prefer to leave my characters on a plain, white page.

And there you have it! Your own drawing of Underswap Papyrus. I hope this tutorial helped you. If not, I'm sorry :c
#CuratorReview
#LeaderReview
How To Draw Swap Papyrus
Source: https://aminoapps.com/c/undertale-aus/page/blog/swap-papyrus-drawing-tutorial/dwmN_BxIbuLxawxzjaxe2aQ2RagXVK3Ved
Posted by: kangwassfy.blogspot.com
0 Response to "How To Draw Swap Papyrus"
Post a Comment